To install the car high cover, especially the high cover of pickup truck models, you need to follow certain steps!
Release time:2024-05-23
Installing a car high cover, especially a high cover for a pickup truck, usually requires certain steps to be followed. The following is a general installation process, but please note that the specific steps may vary depending on the model and manufacturer, so it is recommended to read the relevant installation instructions carefully or consult a professional before installation.
Prepare tools and materials: Before starting the installation, make sure you have all the necessary tools and materials, such as screwdrivers, wrenches, buckles, screws, nuts, etc. At the same time, make sure you have a safe working environment and have any necessary protective equipment ready.
Check the vehicle: Before installation, check the vehicle to make sure it is suitable for installing a high cover. Check that the edges of the cargo box of the vehicle are flat and free from damage or rust. In addition, ensure that the roof and rear structure of the vehicle are sufficient to support the weight of the high cover.
Positioning and Marking: Mark the installation position on the edge and lid of the container. This usually involves using a template or directly marking the location of the screw holes on the vehicle. Make sure the markings are accurate for proper installation.
Install the bracket and beam: Use screws and nuts to fix the bracket and beam to the edge of the cargo box according to the installation instructions. These brackets and beams will serve as the support structure for the high cover.
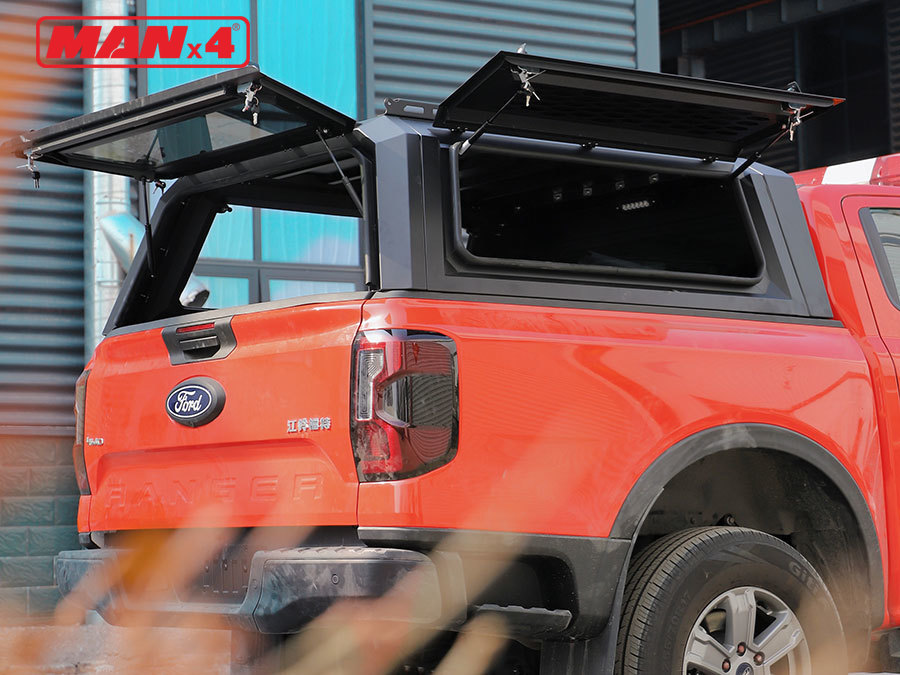
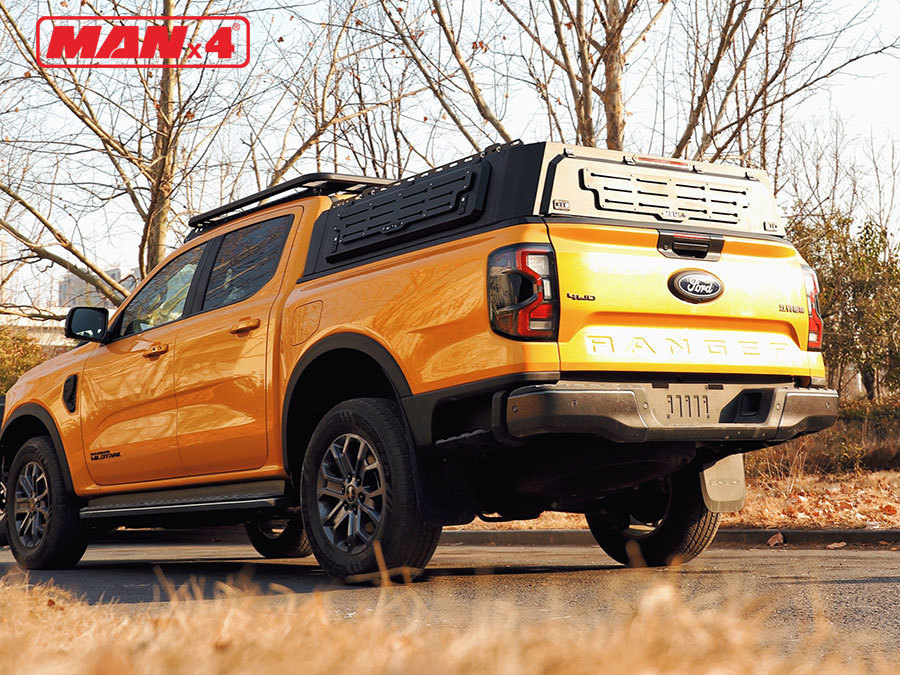
Install the high cover: Place the high cover on the bracket and beam, and fix it with screws and buckles. Make sure that the high cover fits tightly to the roof and rear structure of the vehicle and that all fixing points are firmly connected.
Installation accessories: If the high cover is equipped with any accessories, such as locks, handles or side windows, please install them in the appropriate position according to the installation instructions.
Inspection and testing: After completing the installation, carefully check whether all fixing points are firm and make sure that no steps are missed. Then, a simple test is performed, such as gently shaking the high lid to ensure its stability.
Adjustment and calibration: If necessary, the position or angle of the high cover can be adjusted to ensure that it matches the roof and rear structure of the vehicle.
Complete the installation: Finally, clean the work area and enjoy the convenience and beauty of the newly installed high cover.


